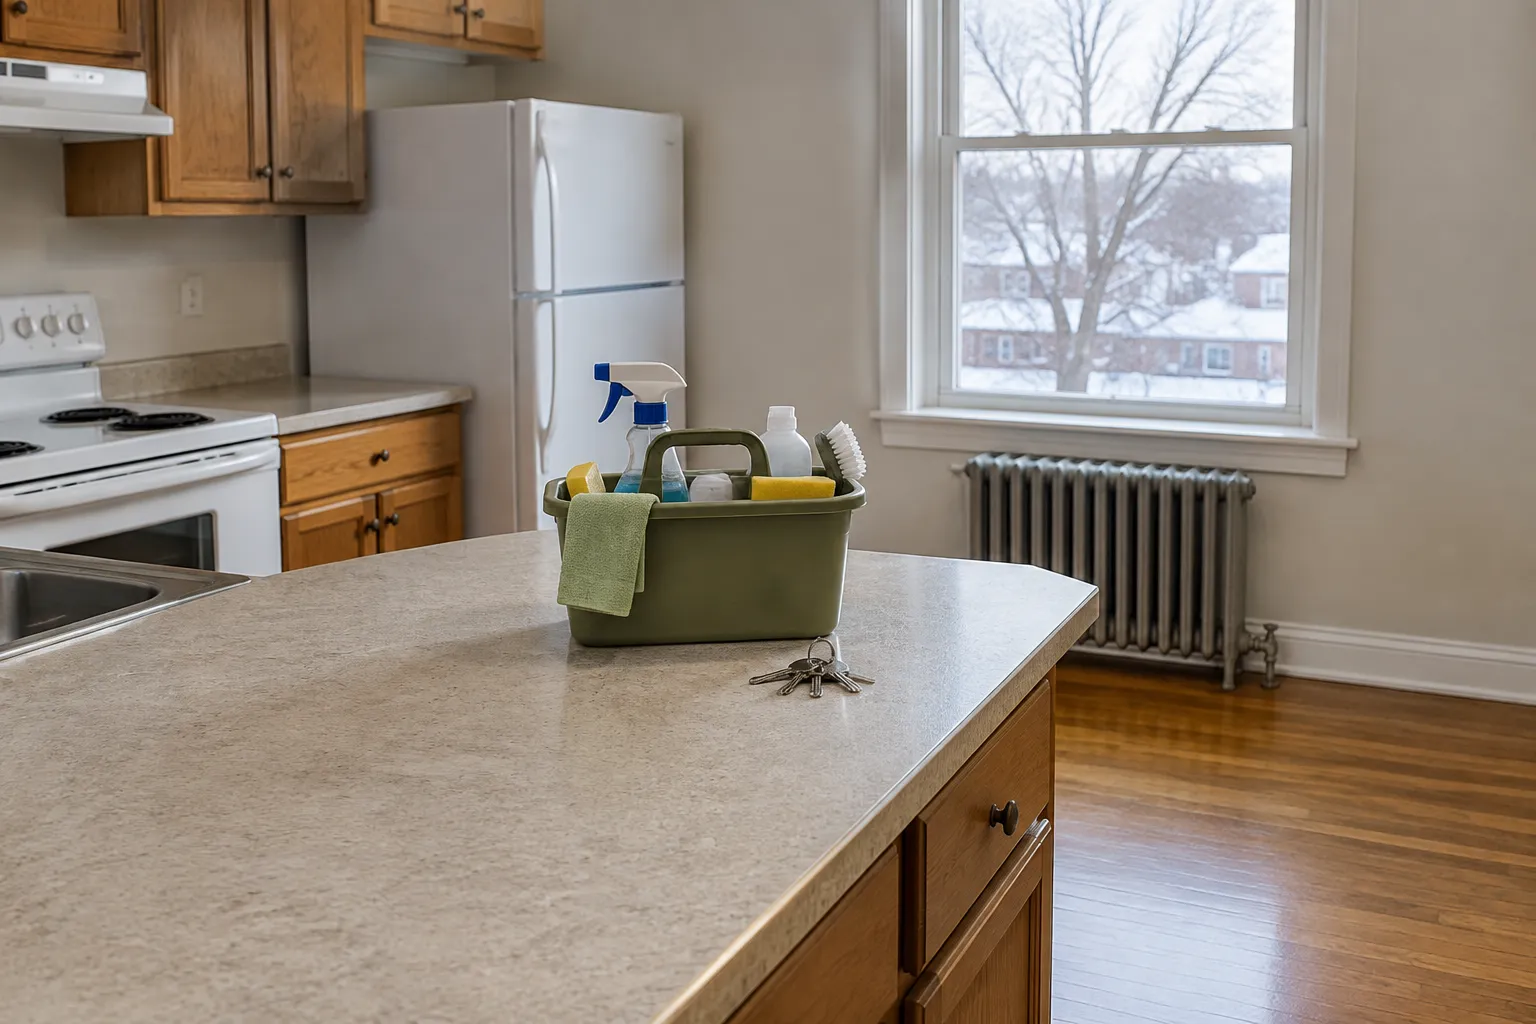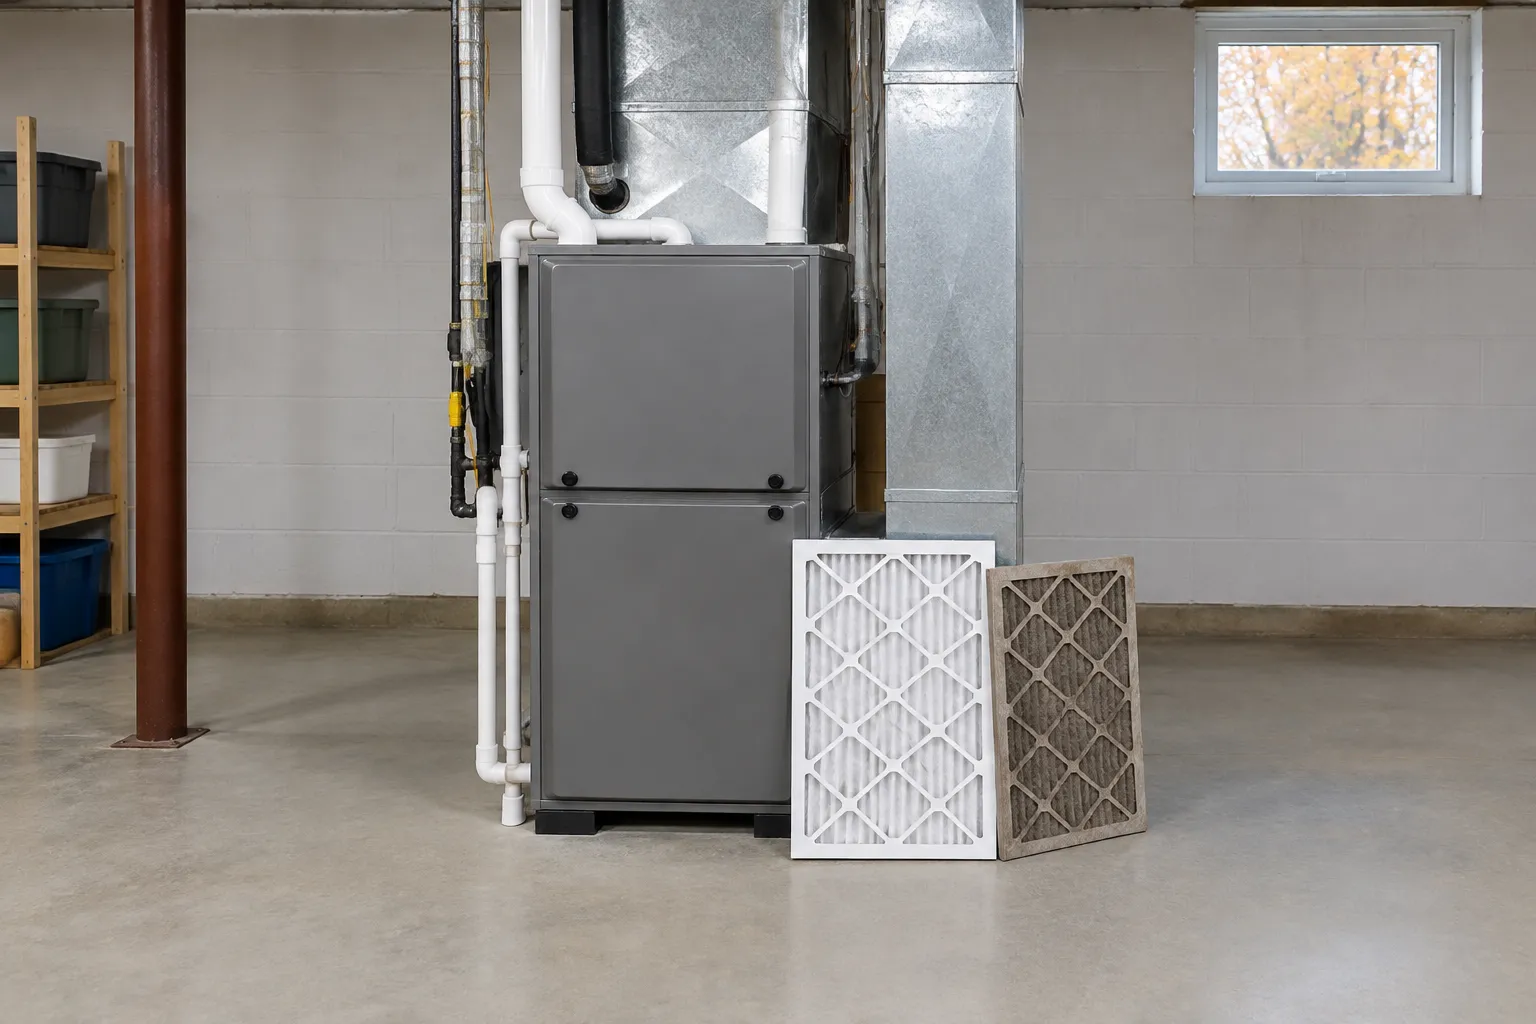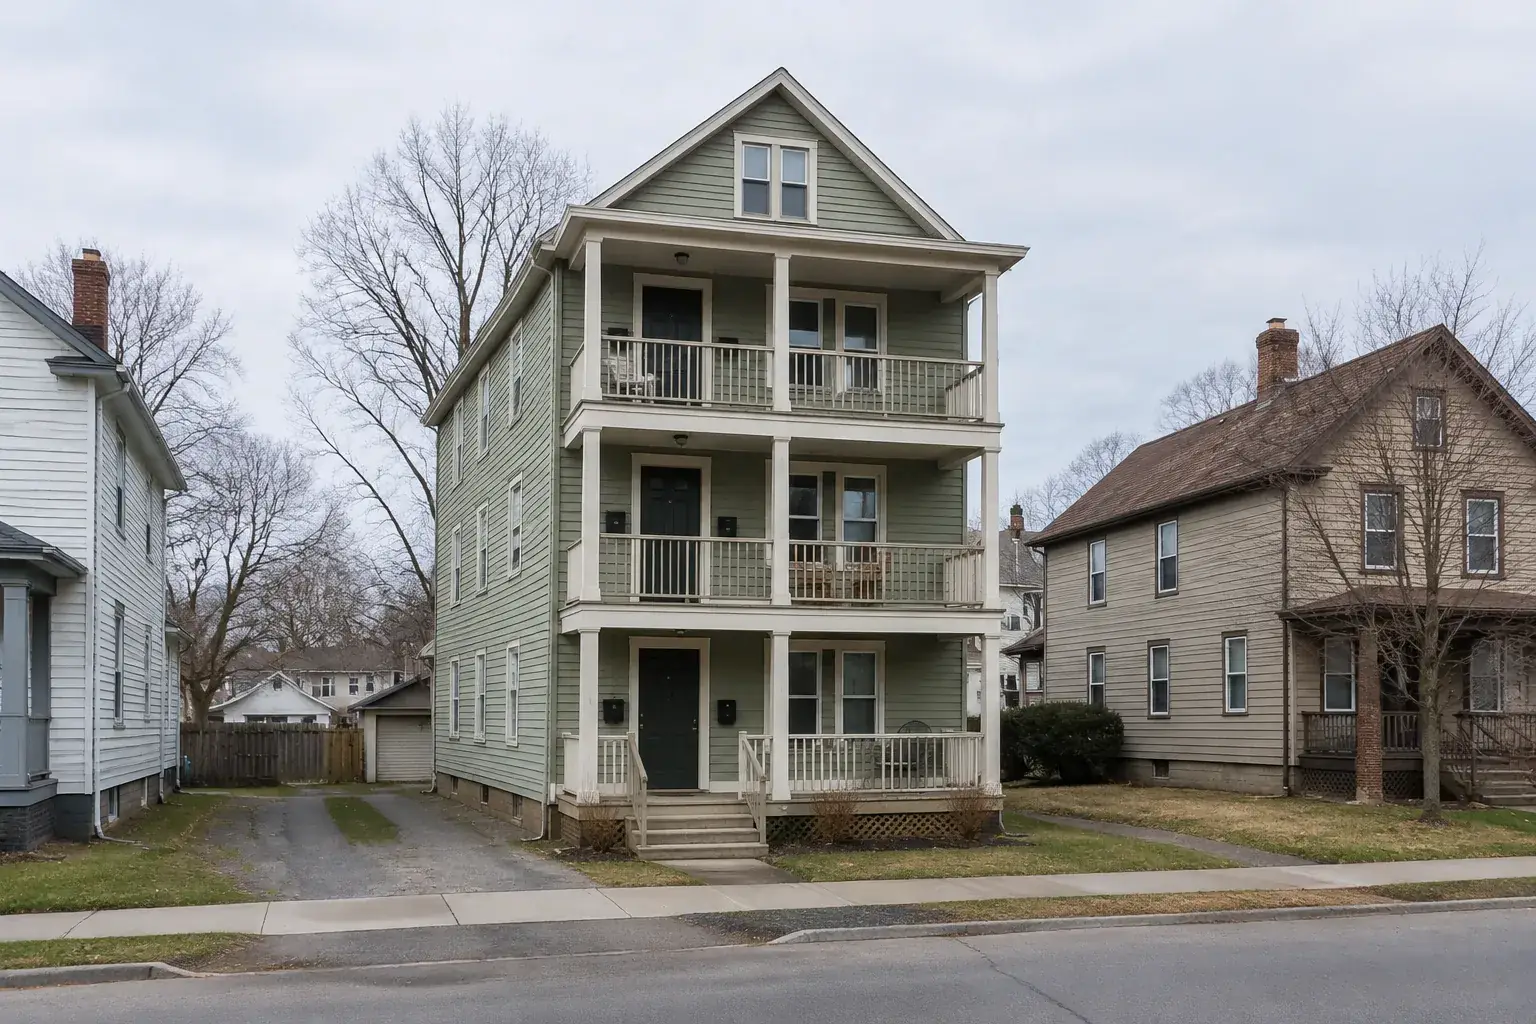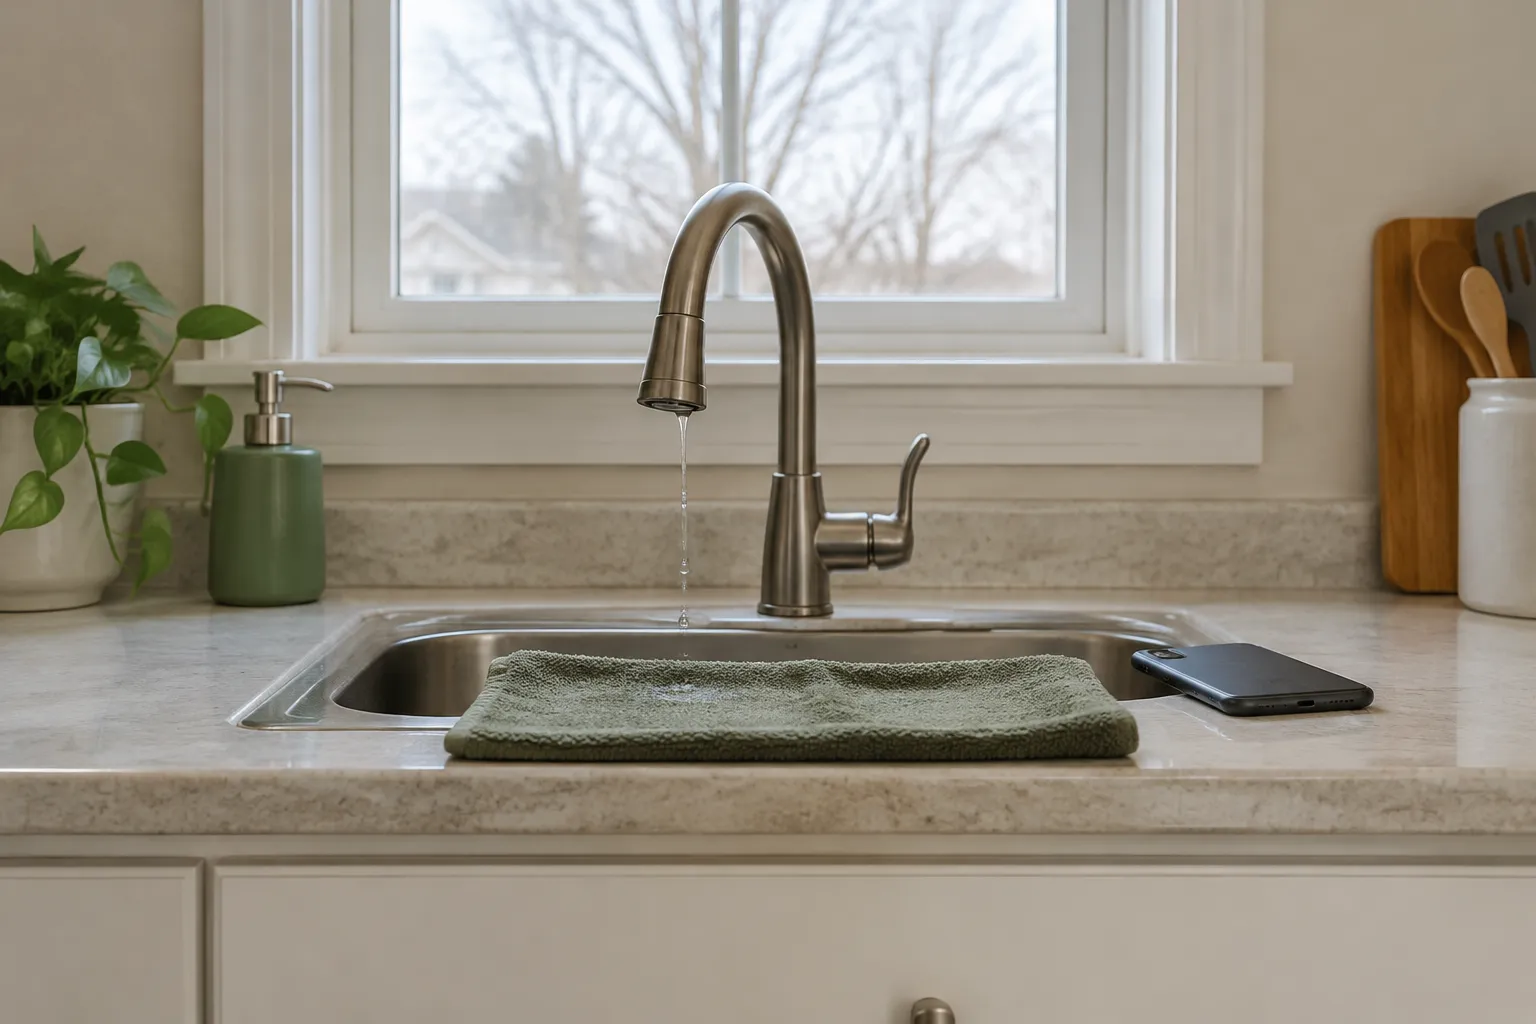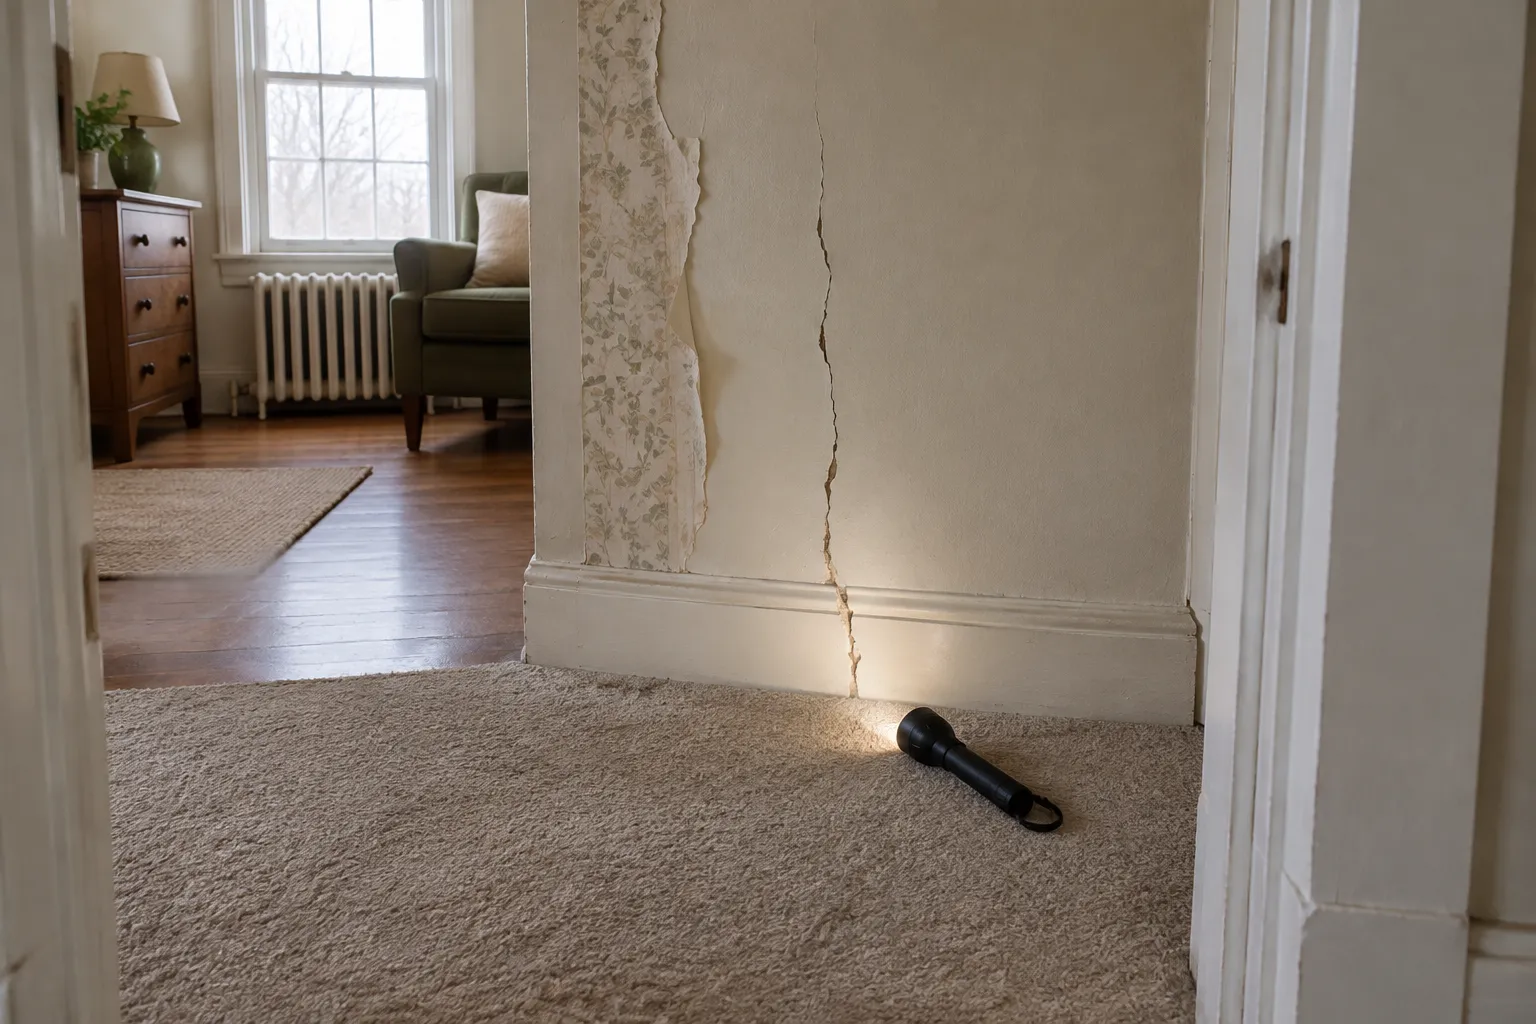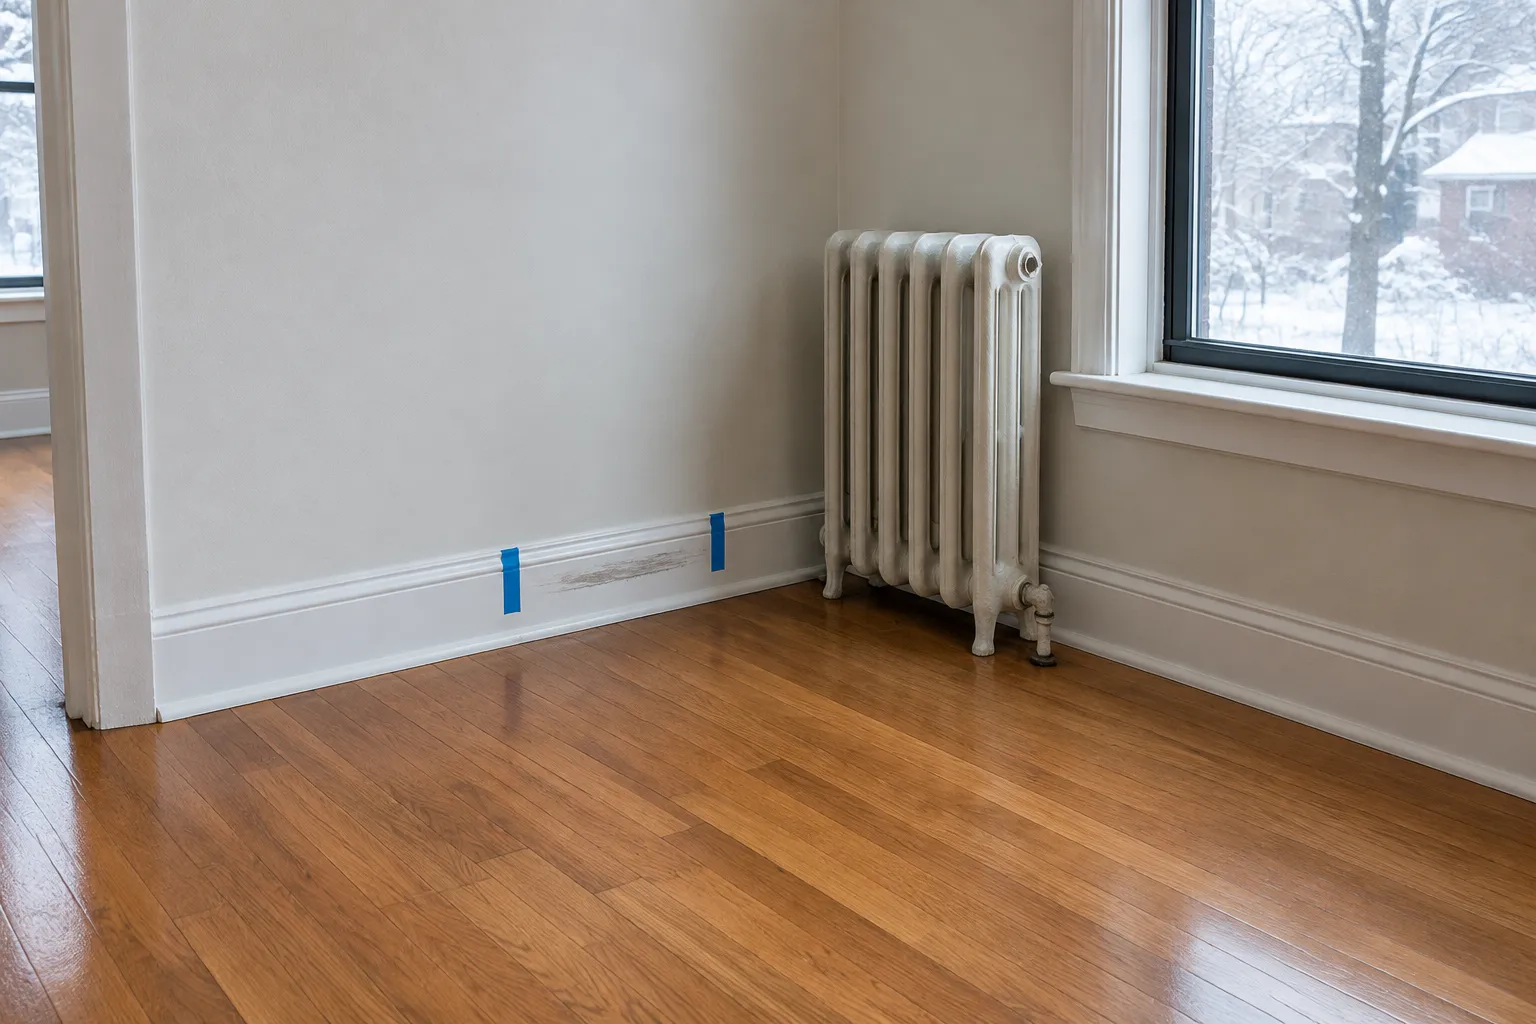
A condition report is a written and photographed record of a unit at the start and end of a tenancy. When you can compare the two records side by side, questions about the unit’s state become easier to answer. This guide explains what a report should cover, why photographs do more work than written notes, how to complete the report at each end of a tenancy, and what to ask before you sign anything.
What a Condition Report Should Record
A useful report walks through the unit in a fixed order so nothing is skipped. Disagreements can arise over items that were never recorded, as well as items recorded vaguely. Cover each of these areas:
- Each room, including closets, hallways, stairwells and any storage space assigned to the unit
- Walls, ceilings, floors and trim, noting any stains, holes, scuffs or loose flooring
- Doors, locks, window coverings, window glass and screens
- Kitchen and bathroom fixtures, sinks, tubs, tile and grout
- Appliances supplied with the unit, with a note on whether each one was tested while you were present
- Outdoor areas assigned to the unit, such as a porch, steps, yard or parking space
- Keys, fobs and any other access devices handed over, with the count written out in words on the form
Record the meter readings and the date on the same form so the report stands as a single document from start to finish.
Why Photos Carry More Weight Than Written Notes
A written note such as scratched floor or dirty oven can mean very different things to two readers. A photograph shows where a mark is, how large it is and what surrounds it. Take each photo from the same spot used in the previous photo of that area, so the move-out image can be laid directly over the move-in image. Keep the frame wide enough to show the room, then close enough to show the detail you describe in writing.
Check the settings on your phone before you start. Timestamps and location data are stored with many image files, and they help show when each photo was taken. Store the original files, not only copies sent through a messaging app that may compress them. A photo also has limits: low light, glare on a glossy surface and a camera pointed too high can hide the condition you need to show. Retake any photo that does not show the detail clearly.
A report is a record you can compare. It is not a substitute for the lease or for advice on how a disagreement would be resolved, and you should confirm with your attorney how any report would be used.
Completing the Report at Move-In
The move-in report sets the baseline for everything that follows, so it deserves the most time. Work through it in this order:
- Walk the unit with the landlord, property manager or agent, and make sure everyone who will sign is present.
- Photograph each room before anyone moves in, starting at the entrance and continuing in a consistent direction.
- Write down each existing mark, chip or worn area on the form, and photograph it up close with a wider shot that shows its location.
- Test the appliances, locks, windows and water fixtures while you are present, and note any item that does not work as expected.
- Read every line of the form before you sign, and ask about any entry you do not understand.
- Keep a complete copy with all photos, and confirm how you will receive a copy of the final report.
Ask whether the property manager or landlord uses a standard form. Our property management service page describes tenant placement, rent collection and maintenance coordination. Whoever completes the report, ask them to explain how they label photos and where the originals are kept.
Documenting Move-Out Against the Move-In Record
At move-out, the move-in report is the reference point. Walk each room with the move-in photos open, and take the new photographs from the same positions. Compare the two sets area by area rather than room by room, because a single area such as a kitchen counter can appear in several photos. The table below lists what to check in the most common areas.
| Area | Move-in record to compare | Move-out check |
|---|---|---|
| Kitchen | Cabinet fronts, counter surfaces, sink and appliance condition | Same angles, cleaned state, and any new marks or missing parts |
| Bathroom | Tub, tile, grout, fixtures and ventilation | Same angles, mildew or staining, and any changed or missing fixtures |
| Living areas | Floor surfaces, walls, trim and window coverings | Same positions, new scuffs, holes or stains, and changed floor coverings |
| Doors and locks | Lock operation, door surfaces and hardware | Keys returned, locks tested and any damage to frames or hardware |
| Outdoor areas | Porch, steps, yard or parking space condition | Same angles, debris or damage, and any change from move-in |
Wear from ordinary use and damage that goes beyond it are two different categories, and a short written note helps keep them apart. Describe what you see instead of sorting it into a category in the moment. Save the category question for the agent, the lease or your attorney.
Common Gaps That Weaken a Report
- Undated photos, or photos stored without any record of when they were taken
- Photos that show only a problem area, with no wider view of the room around it
- Closets, basements, attics, storage spaces and exterior areas left out of the walk-through
- Written comments that say fine or okay without describing what was checked
- Agreements made in conversation about repairs or condition that never appear on the form
- Keys, remotes or access devices handed over without a written record
- A form signed before every room was reviewed
Each gap can be closed on the spot. Add the missing room, retake the unclear photo, or ask for a line to be written in before you sign.
Questions to Ask Before You Sign
Put these questions to the agent, property manager or landlord before the walk-through begins. They will help you understand the process before it affects you.
- Which form is used, and can you see a blank copy before the move-in date?
- How are photos labeled, dated and stored, and will I receive the original image files?
- Who keeps the signed originals, and how do I request a copy later?
- Can any item be added to the form after signing, and who approves that addition?
- Who will be present at the move-out walk-through?
Questions about deposit deductions are outside what this guide covers. Put them to your attorney or review the official New York State guidance on tenancy matters before you rely on any answer. The rental turnover checklist explains the steps between tenants and can help you plan the move-out walk-through: rental turnover checklist from move-out to move-in.
Document Every Room Before You Hand Over Keys
Before you sign at move-in, photograph each room with a timestamp, write down every existing mark and test each appliance and lock in front of the other party. At move-out, rebuild the same photo angles and compare them area by area against the move-in record. SAP Real Estate serves Syracuse and Central New York for sales, purchases, rentals and property management, and you can reach the team through the message form on our contact page.